|
I have a confession! I have NEVER had a gel manicure. I'm cheap and manicures mean making small talk! I would rather stay home in my pajamas and drink "coffee"! Today I am going to give myself my very first gel manicure!
FYI: you can click on the photos to enlarge...
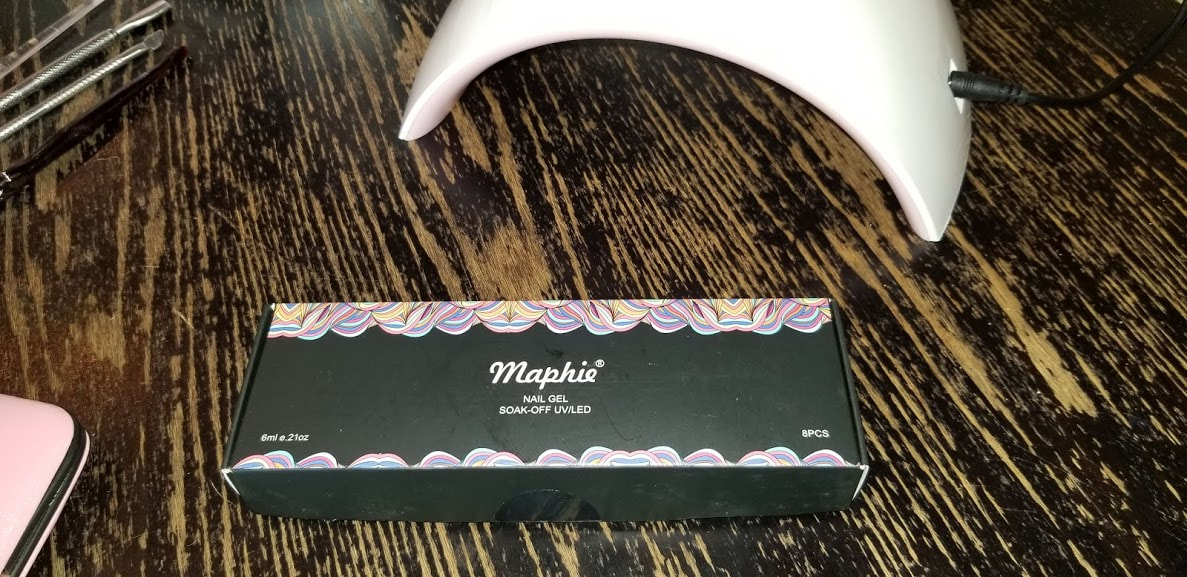
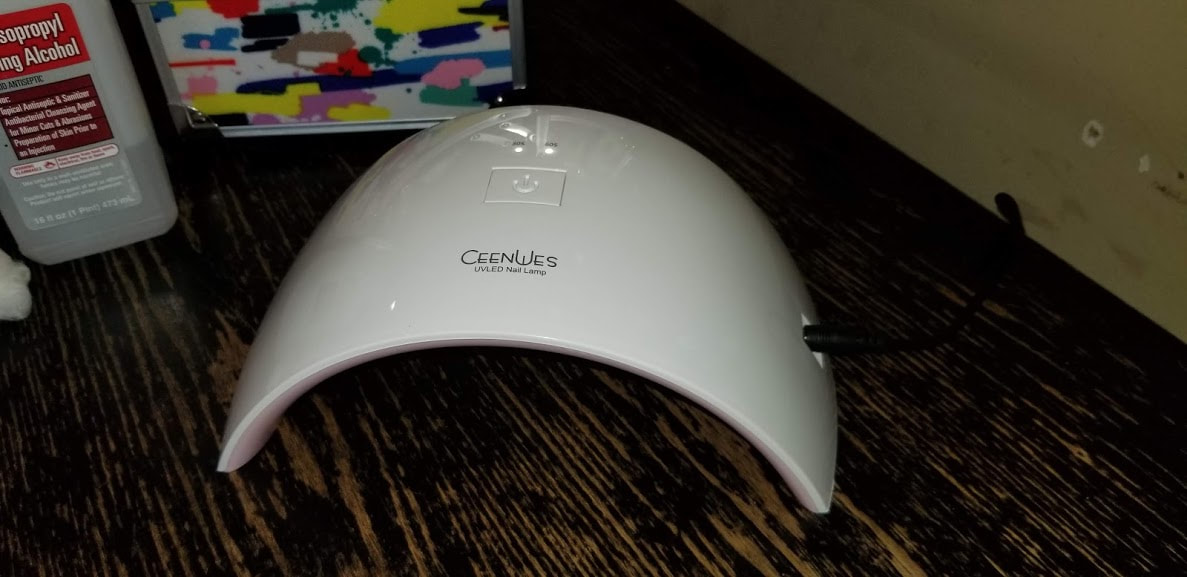
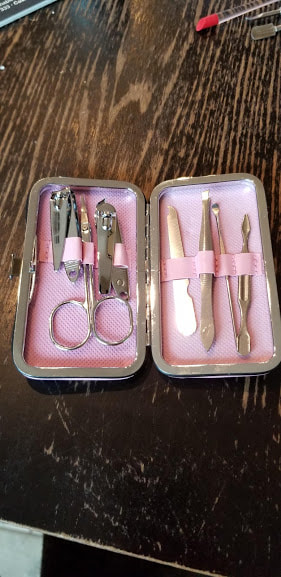
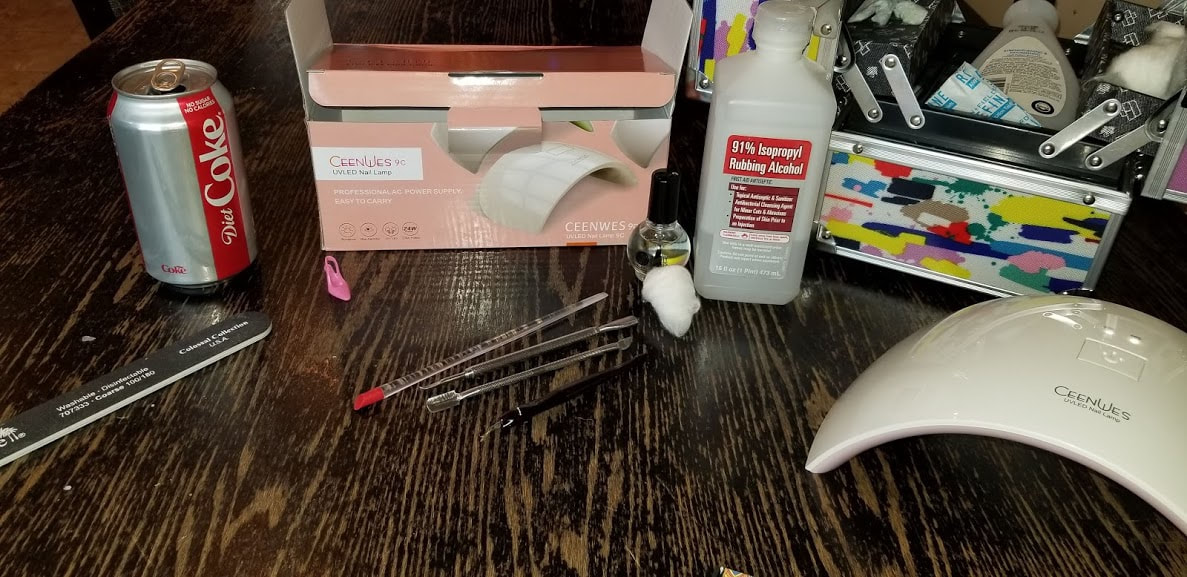
I love painting my nails but they always look like poo. They bubble and peel and get wrinkles. I have been looking at UV/LED lamps and gel nail polish and thought well maybe I can just do it myself. You see, going to get a manicure takes energy and time that I just don't have. I...am...a...homebody! I consulted my favorite resource for days (Amazon) before purchasing my very own lamp and polish! To be honest I went for the most inexpensive because if it didn't work out I wouldn't be out a ton of money! I chose the Ceenwes lamp because it was only $23 and it came with a cute little nail kit gift (and the W looks like a little butt!). I chose this Maphie nail polish set because it was $15, I loved the colors, and it came with a top and base coat.
Supplies:
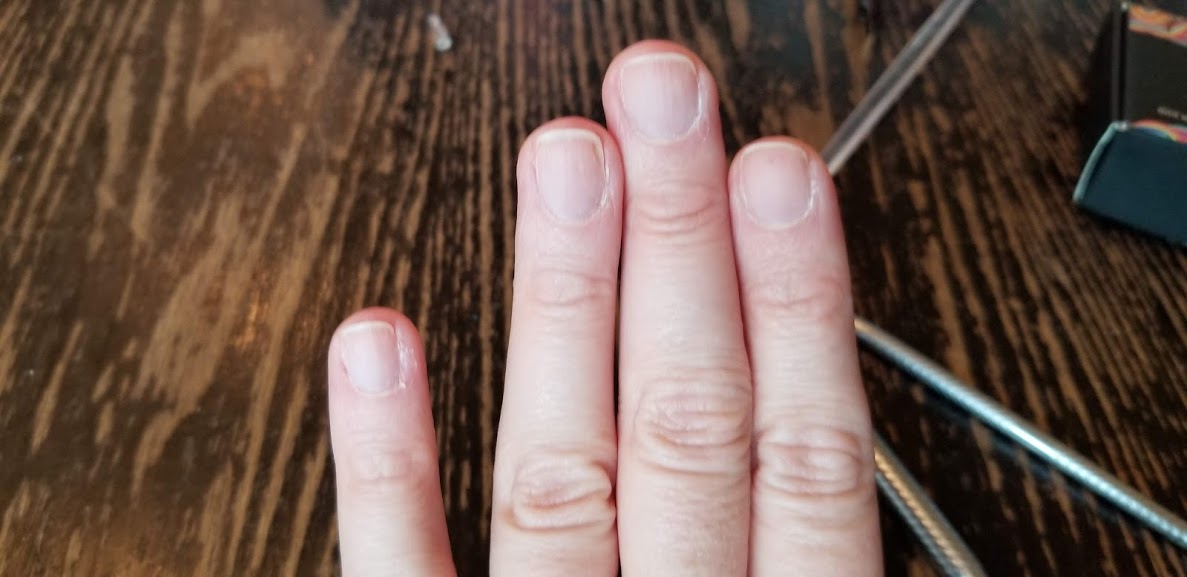
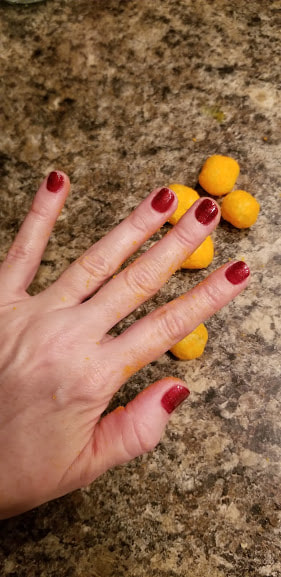
You guys look at these nails! I will be impressed if I can turn these snaggletooths into swans! Alright! First you have to prepare your nails. Push your cuticles back and scrape the skin from the nailbed with a scraper thing.
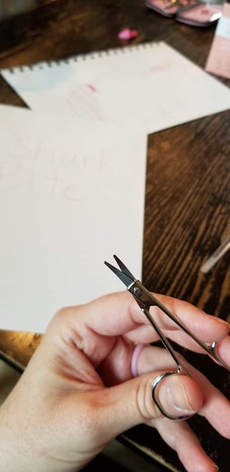
Trim your cuticles if they are hanging out everywhere. That is my son's book he is writing in the background. It's called "Shark Bite" and it's all about sharks killing and eating people... he's 6.
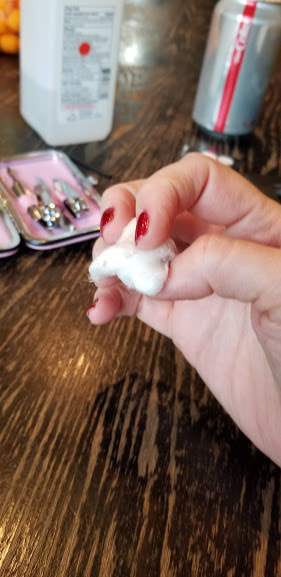
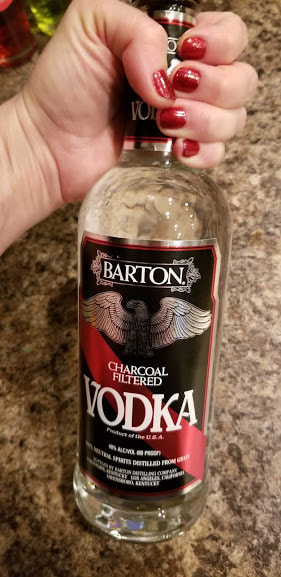
Once your nails are shaped, gently buff the surface to remove the shine, this helps the gel stick... so I hear! Once your nails are ready, remove the oils and dirt with a few wipes of rubbing alcohol on a cotton ball.
Once your nails are ready, carefully apply a thin layer of the base coat. Try really hard not to get in on your skin or let it puddle around your cuticles. (I read if the gel is on your skin the light will burn you! I got it all over my skin and it did not burn but please don't take any chances. I personally like living dangerously).
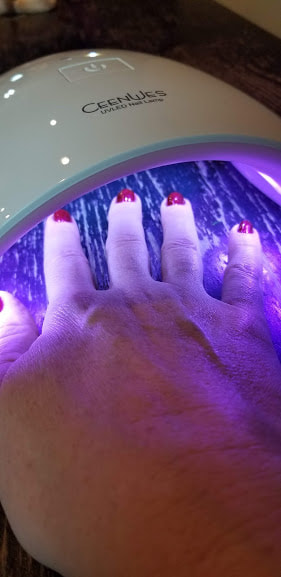
Thin is the way to go you guys. Once you apply your thin layer, cure your nails under the light for 120 seconds. (I don't really know if 120 seconds is true but it's what I did and it turned out fine!) I applied 2 base coats on my left hand and one on my right. I will see if one lasts longer than the other.
Once your nails are cured, apply a very thin layer of color, cure the color for 60 seconds then apply another thin layer and cure for 60 seconds.
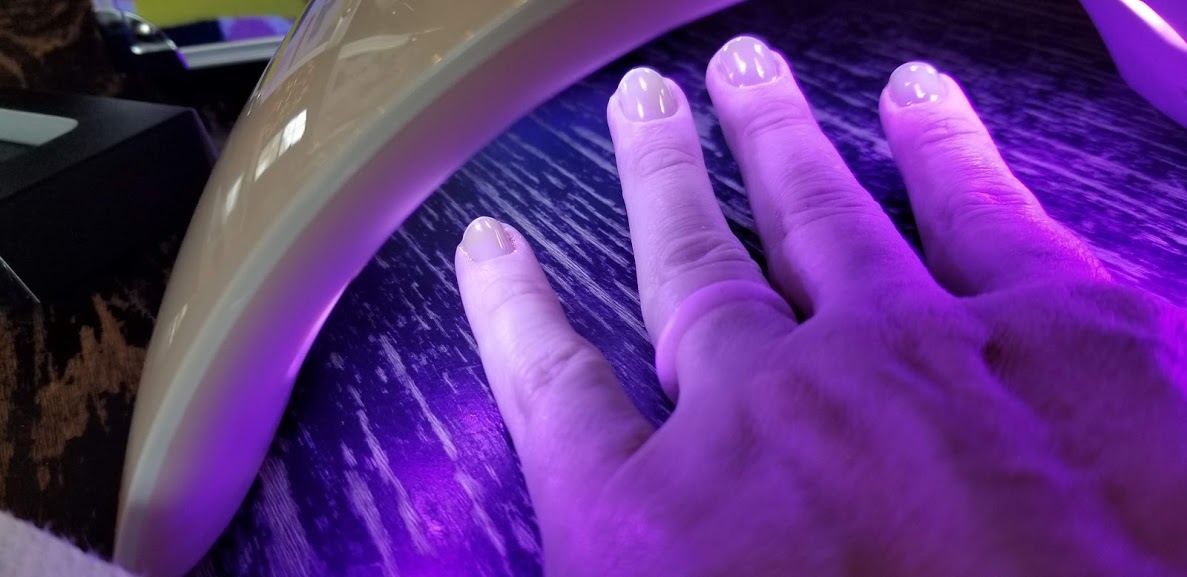
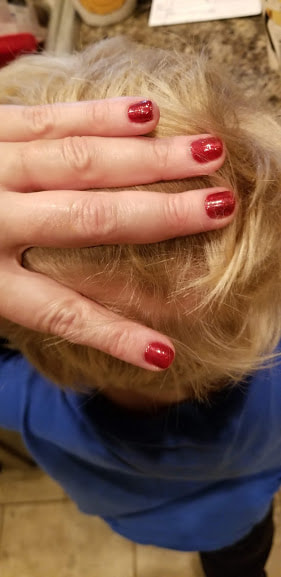
Once you have your color as dark as you want, apply a thin layer of the top coat and cure for 60 secs. My hand looks like a giant pancake hand.
***WARNING... HANDS MELT UNDER LIGHT!
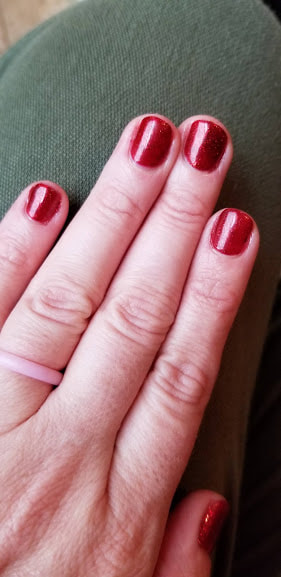
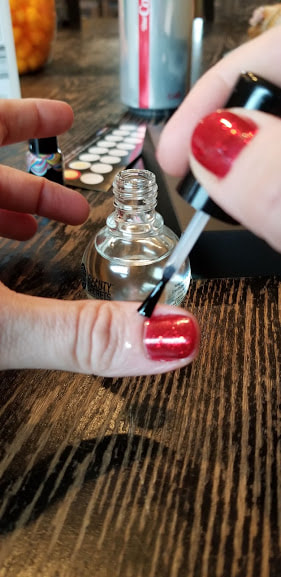
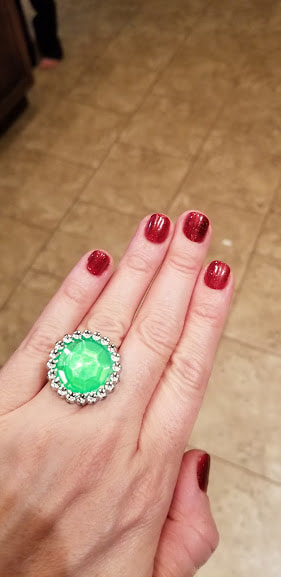
Once the top coat is cured, take rubbing alcohol on a cotton ball and wipe the tops of your nails to remove the sticky layer... Finish your nails with a cuticle oil and then admire that shine! Perfect!
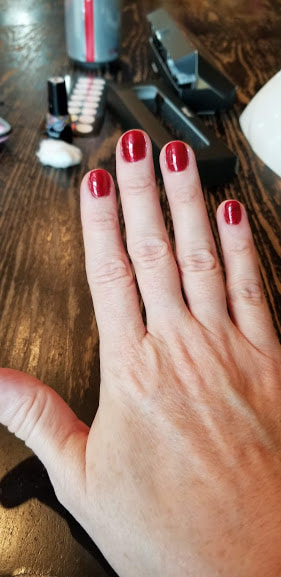
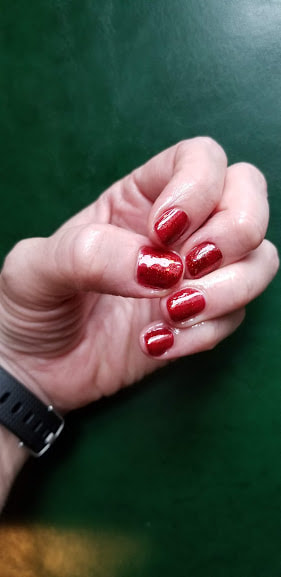
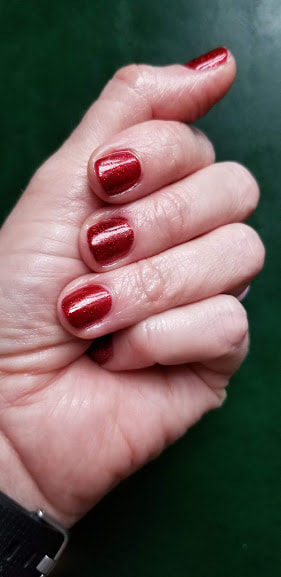
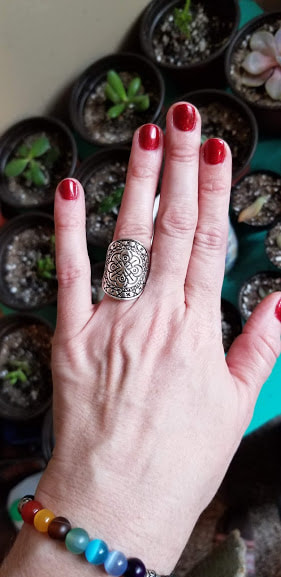
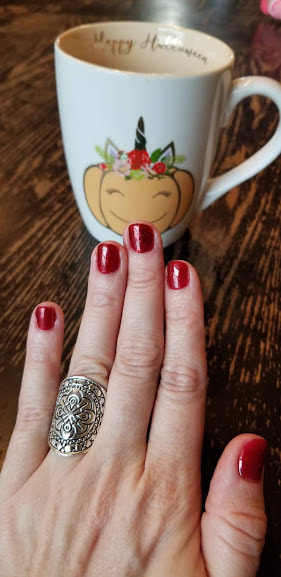
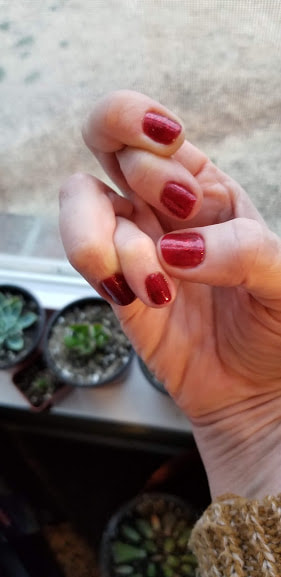
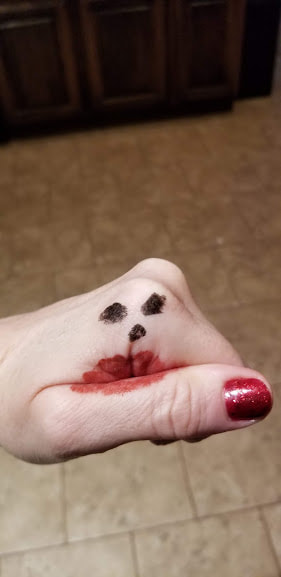
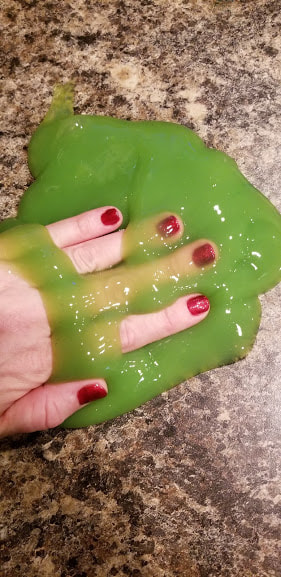
How are you supposed to even pose your hands? Is there a class I need to take? I don't know what to do with my hands! Please enjoy my hands in their natural habitat... you freaky freaks!
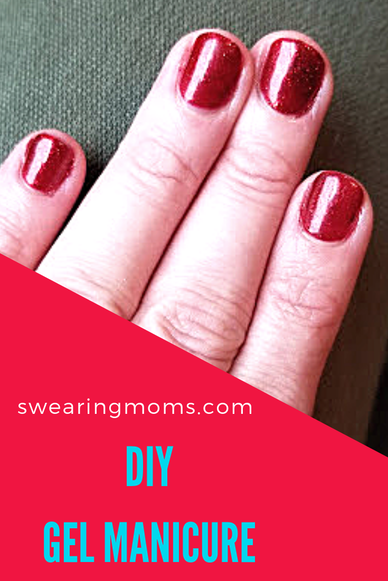
I am super excited about my new purchase! I'm going to save myself so much money by doing my own manicure... wait, I won't save any money because I don't even get manicures... whatever! Overall I am very happy, I made a few mistakes and some nails aren't perfect but that's fine with me! I am stupid dumb when it comes to doing anything with my left hand and I have to say I did okay even with my left hand!
So the verdict is... best purchase ever! I will be doing many manicures and will update you with how long this one lasts! I'm a mani newbie so leave me some tips in the comments... As always, thanks for reading! ***UPDATE: It's only been a few hours since my home manicure and I am already seeing a difference! My kids are using their manners, my clothes fit better, and my husband keeps trying to take my clothes off! I should have done this years ago! Please like, share, tweet, and pin!
0 Comments
Leave a Reply. |

 RSS Feed
