|
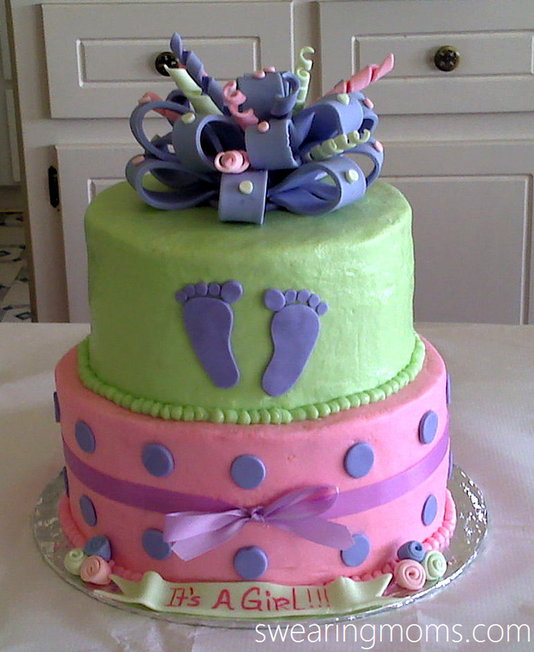
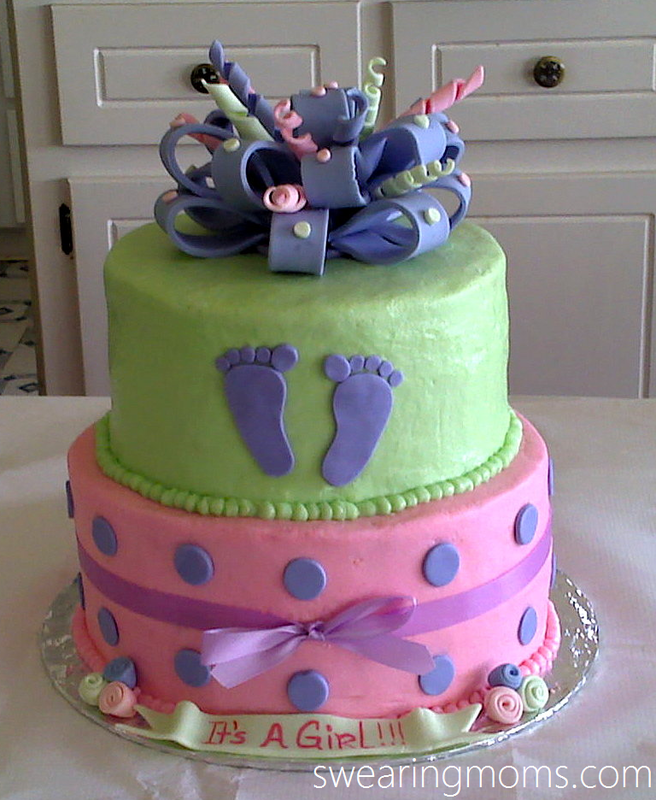
Well I said I would get a tutorial up on a loop bow soon and I am finally going to do it! This is the cake and loop bow I made for a baby shower! I think it's pretty cute!!! These bows are so cute and really easy to make!
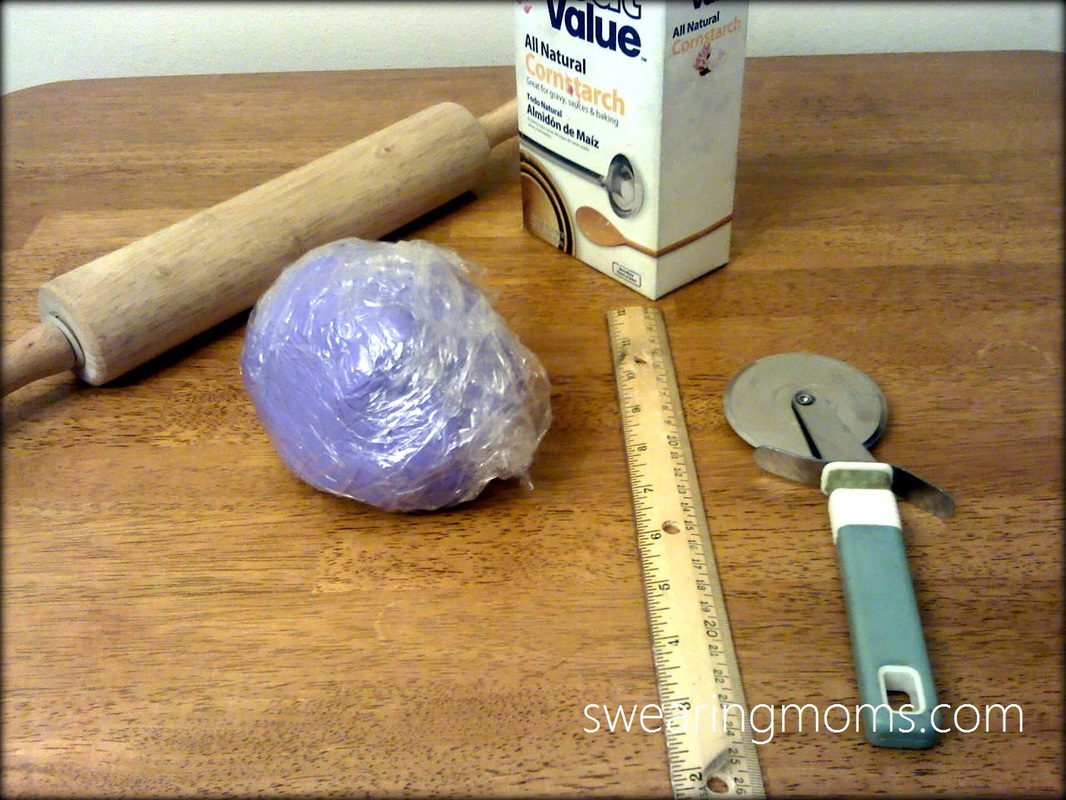
You will need fondant, a rolling pin, cornstarch or powdered sugar, a pizza cutter or fondant cutter, and a ruler or anything that will work to cut straight lines.
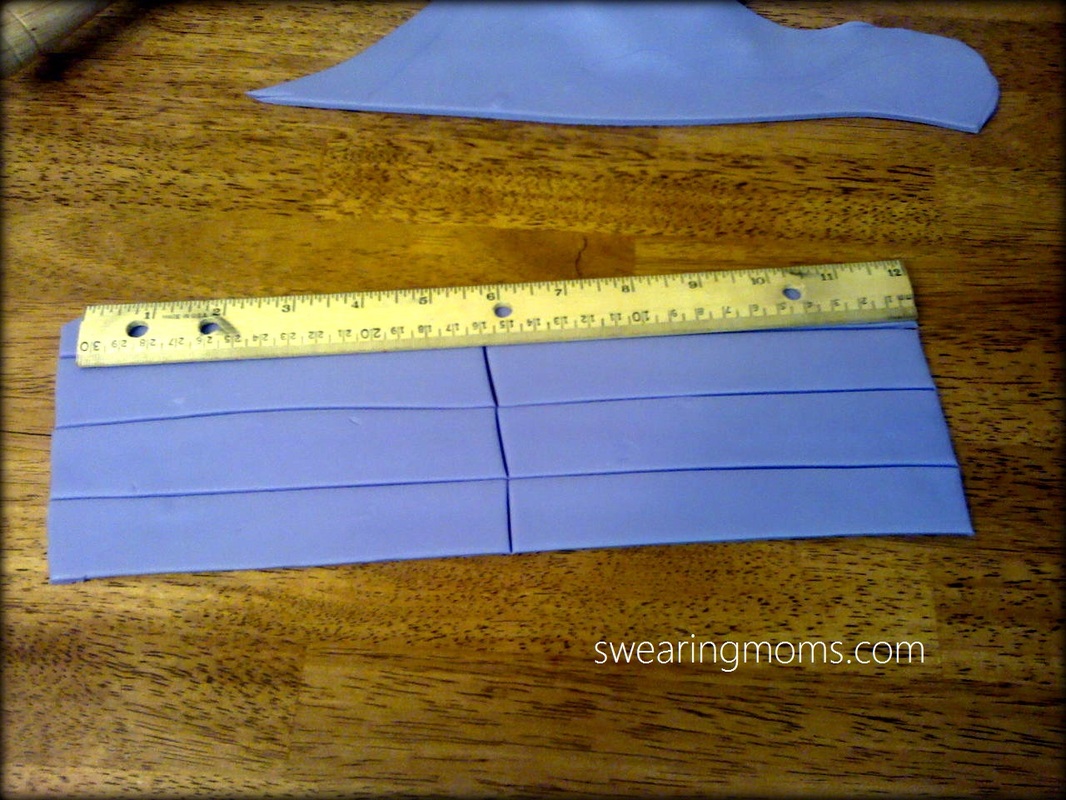
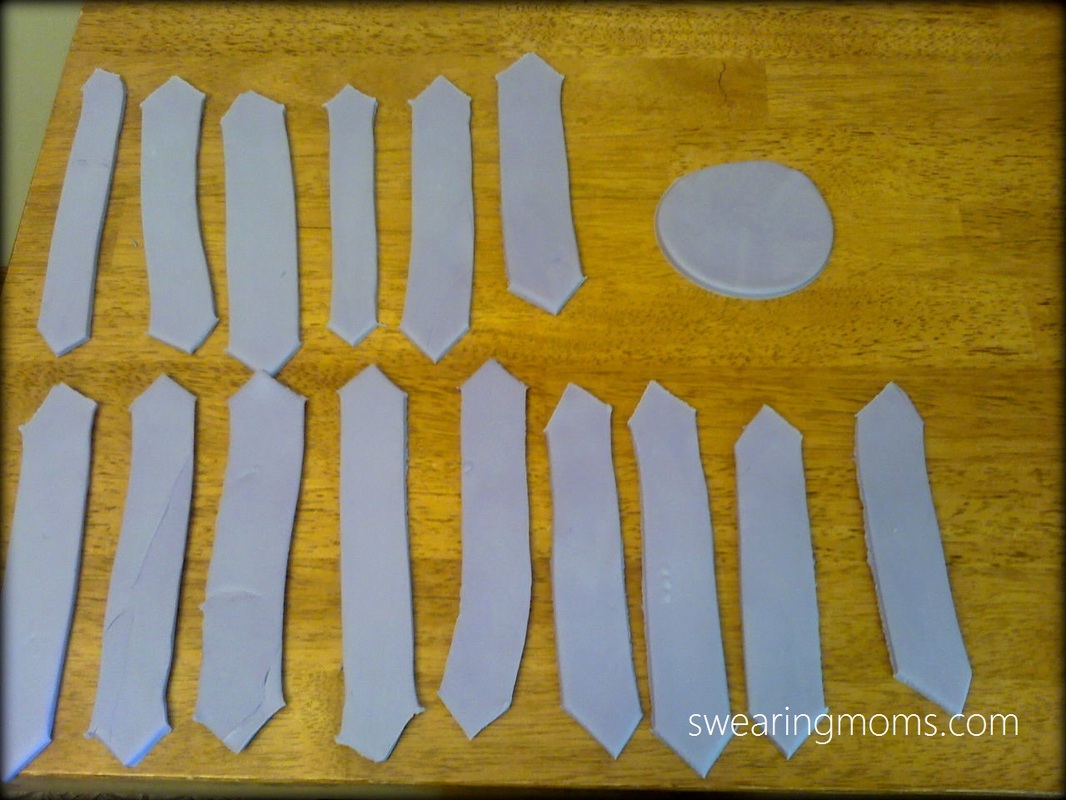
Roll the fondant out to roughly a quarter of an inch. Cut 13-14 strips that are 51/2 inches long and 1 inch wide. Cut out a circle about 2 inches in diameter.
The next step can be done one of two ways. You can cut points at the ends of each strip or just leave them straight. I personally like to make points.
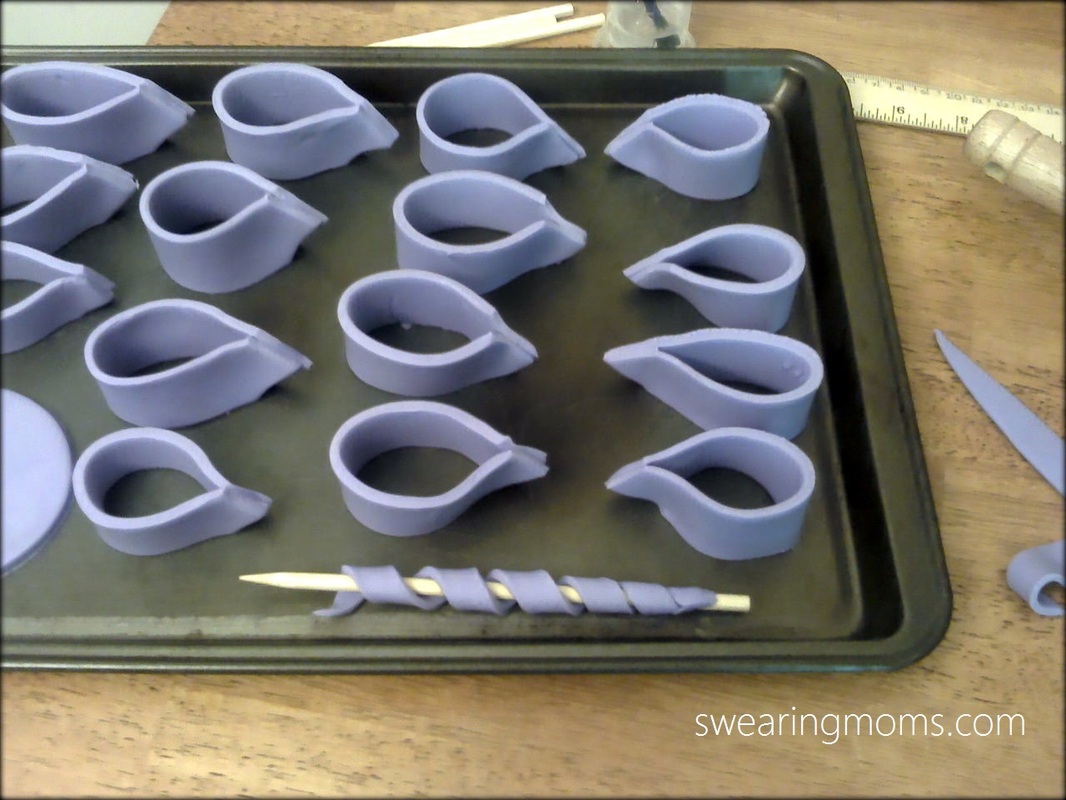
Lightly wet the very end of the fondant and gently fold and press the ends together, forming a loop. Place the loops on a cookie sheet. I like to lay my loops on their sides. This helps them dry faster and keeps their shape.
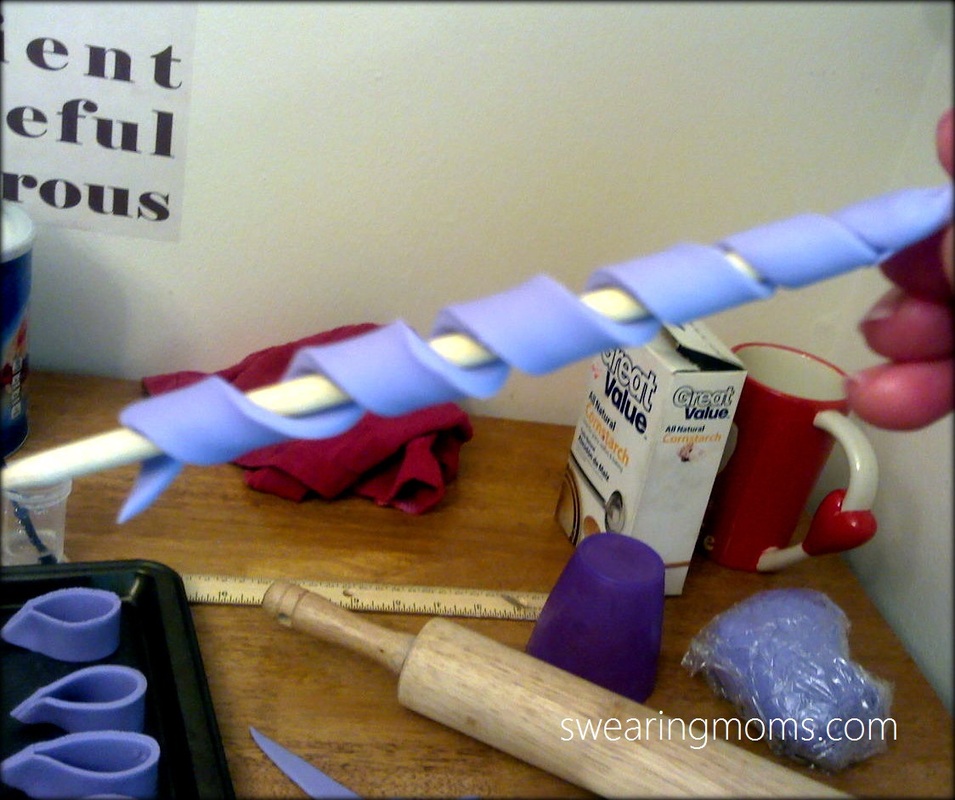
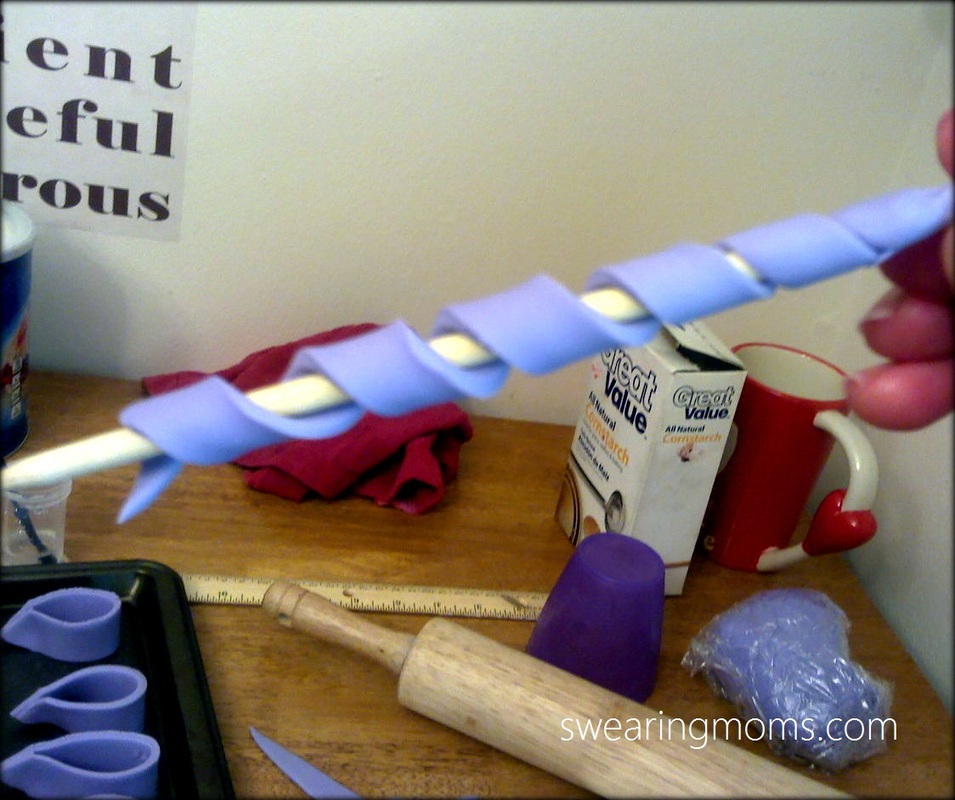
If you want curly q's sticking out of your bow then take a strip about 5 inches long and 1/2 and inch wide and curl it around a wooden skewer as shown. (You don't have to have curlies on your bow, it will still look cute without them!) Here is a picture of one of my solid colored bows.
Let your loops dry for a solid 48 hours. I make my loops a week in advance and let them dry for several days just to make sure they are VERY dry!
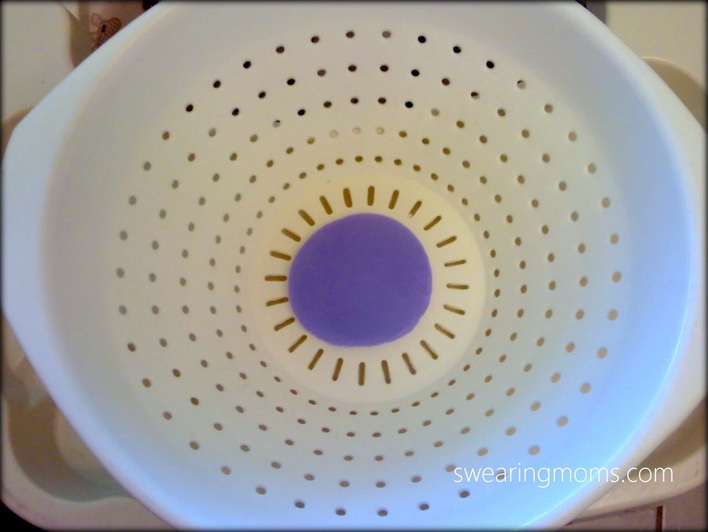
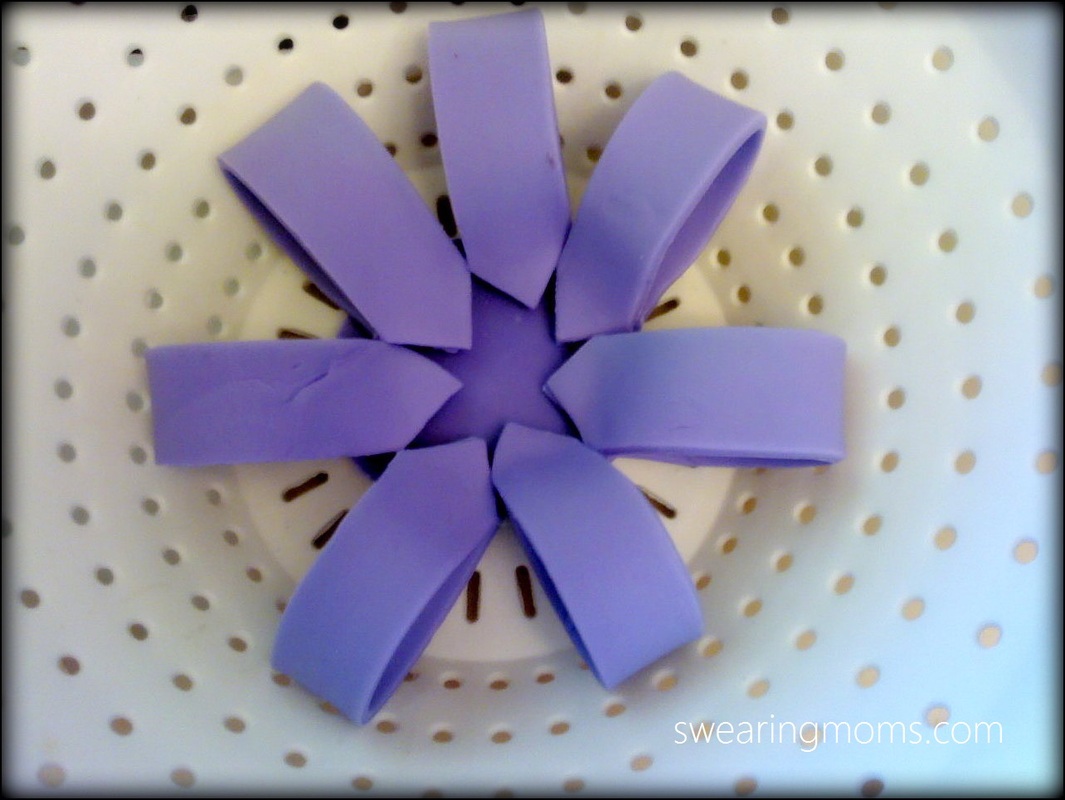
(Move them around about twice a day to keep them from sticking to the pan, you can line the pan with parchment paper to help with the sticking.) Once the fondant is dry, place your circle down. I like to make my bow in a noodle strainer because it helps hold the bow in place and makes it easier to work with. You do not need to use a strainer to make it work. Place about 7 loops around the circle. There are two ways you can attach the loops, either by using melted chocolate or candy melts (dyed the same color as the fondant) and using the melted candy as a "glue" to attach the loops to the circle. The second way is how I will show you in the next picture.
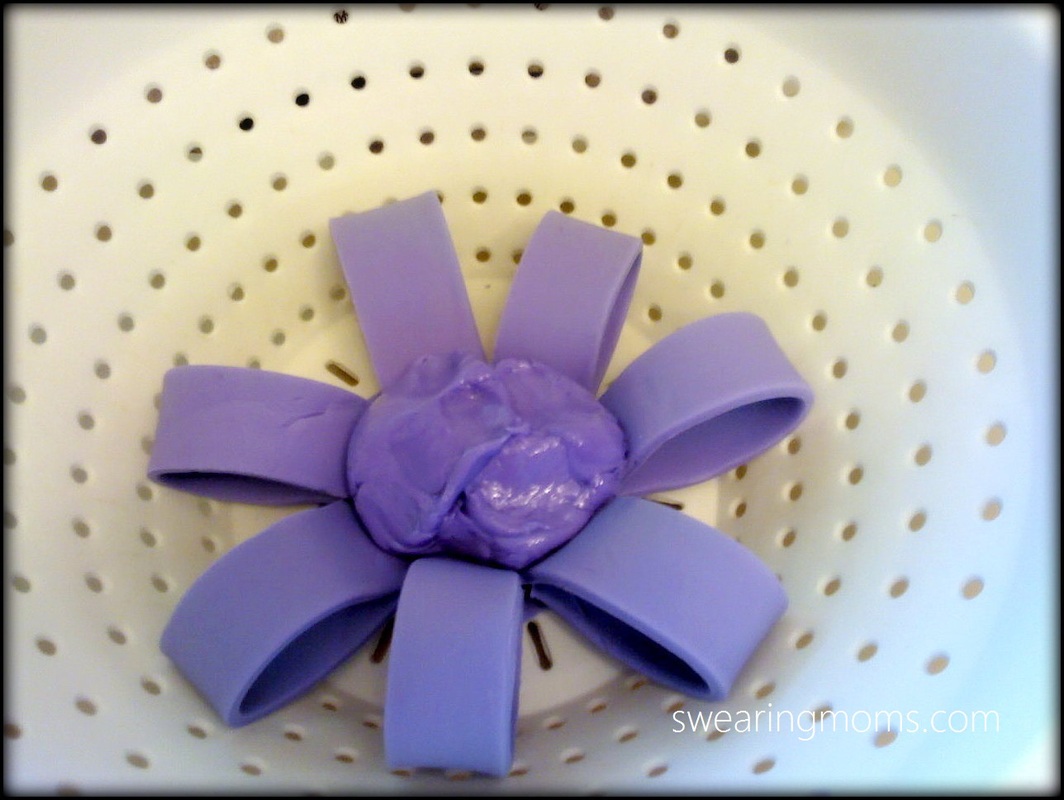
Take a piece of fondant and make about a 2 inch ball. Wet the ball really well until it feels soft, similar to a marshmallow. Place the "wet ball" ha between the loops (touching all the loops and the circle).
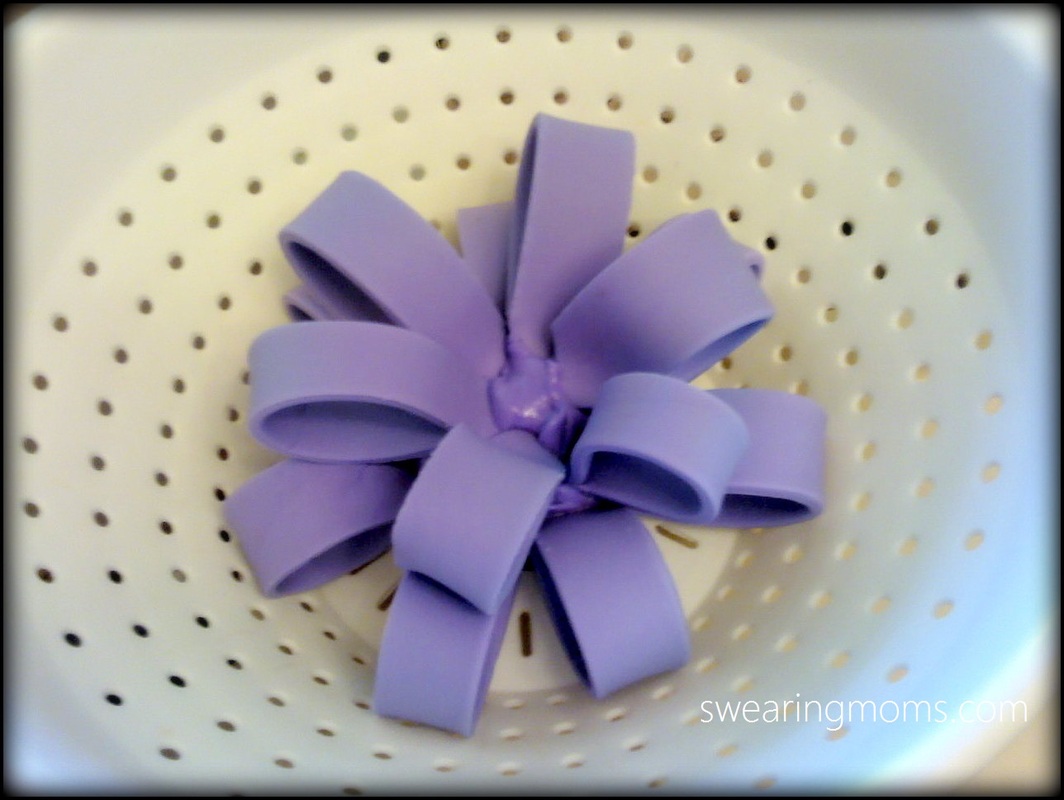
Attach your second row of loops. You can use as many or as little as you want. If you don't like how it looks you have time to move them around before the wet ball dries. I used six loops for my second row.
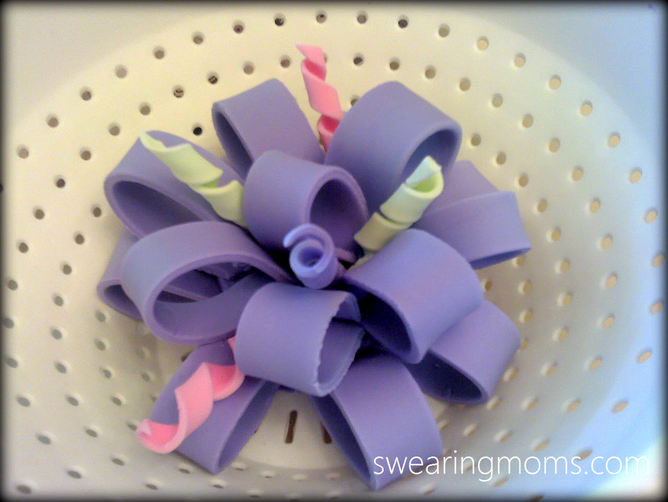
Attach your last loop at the top and if you are using curlys poke them down wherever you want! The curlys can break so make them longer than needed, you can always cut them down if you need to. Let the bow sit for another day or longer if possible to let the center ball dry out and adhere to the loops. If you use the melted chocolate as glue it won't take as long to dry.
I added several curls and different colored dot accents (attached with a little bit of water) to really give this bow some oomph!
10 Comments
Carissa
6/2/2013 06:33:12
Thank you!
Reply
Carissa
6/2/2013 06:33:44
Hi Jen! Thank you for the new follow! I appreciate it!
Reply
6/12/2013 16:30:40
Just wanted to say "thank you" for linking up on my Bloglovin Blog Hop!
Reply
Carissa
6/13/2013 16:13:31
Thank you Angel! I will head your way shortly. I appreciate the new follows! :)
Reply
9/18/2014 16:22:03
the cake looks very tasty, thank kasi has been willing to share tips and tricks to make beautiful cakes,
Reply
Linda
8/24/2017 08:44:09
This tutorial is awesome but where's the swearing?
Reply
Leave a Reply. |
Thanks for stopping by!Hi! I'm Carissa, I'm a mom, wife, nurse, pet lover, and gamer.... Oh yea! I am mom to many boys and 1 little girl ! I created the website Moms Who Wear High Heels and Swear aka SwearingMoms because, well, I'm a mom, I have a mouth like a sailor and I love the way I feel in a sexy pair of heels! I enjoy my coffee in the evening and I love rainy days. Enjoy!
Archives
May 2021
Categories
All
Partners and Sponsers
|


 RSS Feed


