|
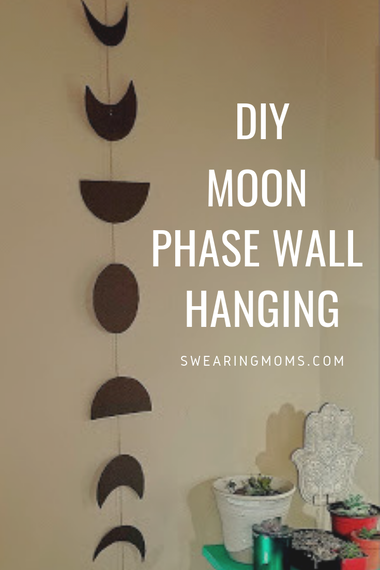
I just adore these cute little moon phase wall hangings! I decided I wanted one really badly and I want it now! I had all the items on hand to make a cute little lunar hanging myself! It was really easy...
2 Comments
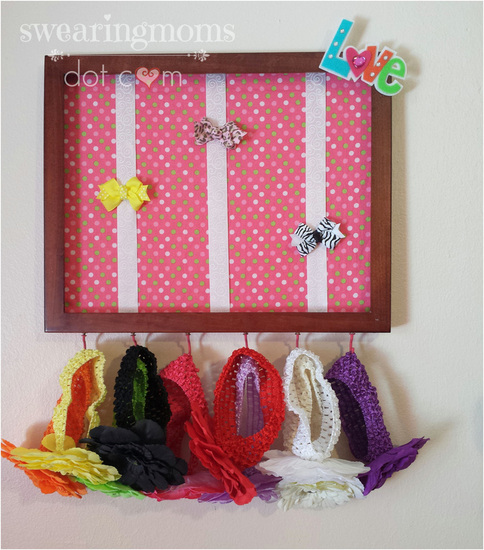
After giving birth to 5 sons I did the impossible... gave birth to a human girl! My first thought... oh the endless craft ideas! Not that I couldn't do a lot of crafty creations for boys, I mean there are lots of cool stuff for boys... like trucks and dirt... and more dirt? I love being a mom to boys but come on, I have an inner diva that needs to be free! Now what can I do for my first girly craft? Baby girl is only 5 weeks old and she already has a nice collection of hairbows and headbands. They need a home! Let me also say, I am not one of those people who dresses their child in an oversized hairbow so that she can be mistaken for a colorful rooster... I'm not! Okay I do put them on her for pictures... but that's it... Honest! Anyway, lets get crafting!
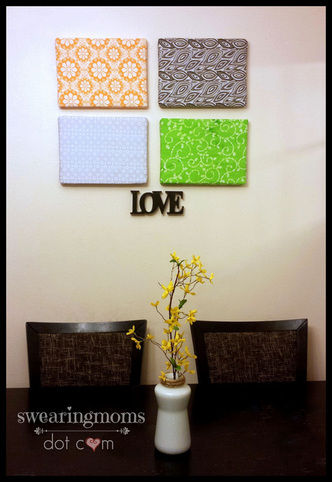
I've been seeing these Styrofoam wall panels circulating around Pinterest for quite some time now and decided it was time I tried it out. My walls are blah. I have very neutral tones in my home... creams, brown, and white. I really wanted a splash of color to sass things up a bit. This was by far the easiest and fastest project I have ever done AND it cost under $12!!! I like it! Okay hold on to your seats because things are about to get real... GHETTO!
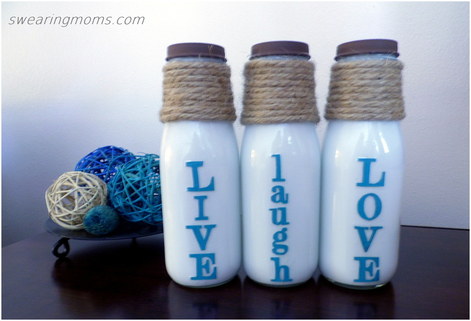
I had my dearest friend over for a visit and my sweet hubs brought some Starbucks Iced Coffee home. I rounded up the empty bottles to throw away and I thought... hmmm I bet there is a project out there for these guys! Well there is a project for EVERYTHING so I was able to find something real quick!
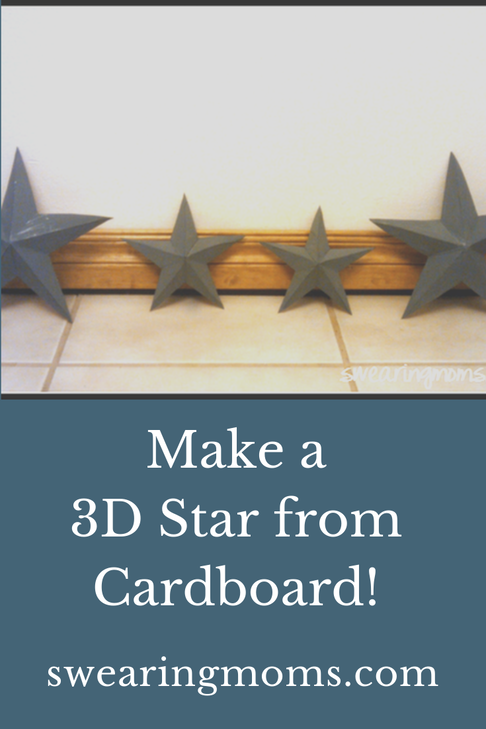
These adorable little stars will make excellent accents for your home. The best part? You probably already have all the materials for this project... These cuties are made out of *gasp* a Cheerios box! That's right, a cereal box! I found these little gems over at Creative Creations and knew I must have them!
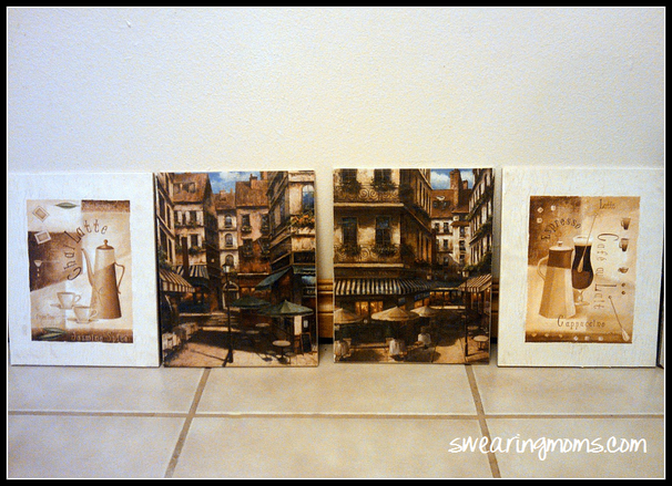
This is a super cute and inexpensive way to display your pictures and use up your old tiles! I had several pictures that I purchased a few years back but I never got around to buying frames for them so the pictures have been collecting dust. We just so happened to have several floor tiles in our garage and I knew they would be perfect to show off my pictures. (I apologize for my stellar picture quality. My trusty camera finally crapped out on me! I have to rely on my camera phone for now.) 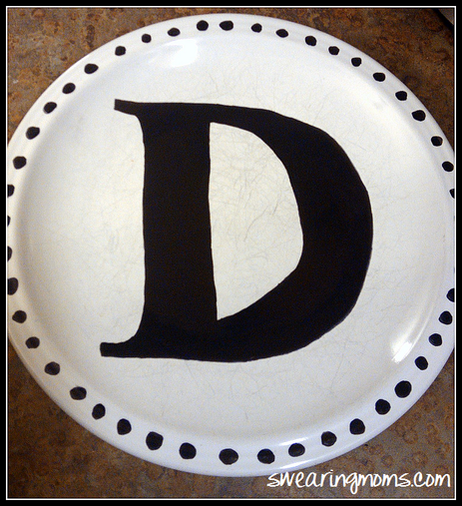
I don't think I have said it enough but... I LOVE Sharpies! I use them for EVERYTHING! My kitchen has been lacking a certain something. I remember my grandma had a "letter" D in her kitchen for her first name... Dorothy, and that's just what my kitchen was missing. Personalization. Now I'm pretty frugal so I like to use what I have on hand. I had a white plate and a black Sharpie... Oh ho ho! 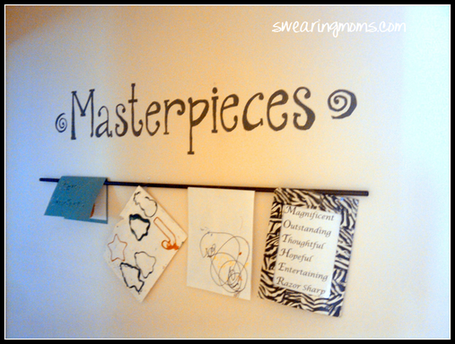
This is a very simple, yet entertaining craft that is sure to thrill your little one!
I hung an old curtain rod that has been taking up space, with two hooks, and found a font that I really liked and transferred the font onto the wall and then painted it... How much easier can you get? Adapted from A Little of This, A Little of That 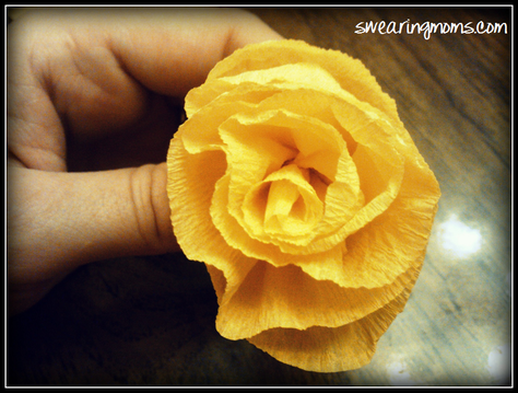
I have had a pretty vase sitting empty on the shelf for a long while now and I haven't had anything to spruce it up with. I ran across a tutorial on how to make crepe roses balls over at Pixel & Ink and I just happened to have a roll of crepe paper. It was the perfect solution!
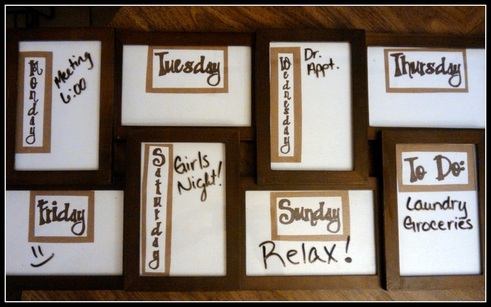
I saw this cute, must have project from Crafting and Quilting, while killing time on Pinterest! You just need a photo collage frame, scrapbook paper (construction paper, plain white paper), and a dry erase marker. The marker wipes right off with a piece of tissue.
|
Archives
December 2018
Categories
All
|
 RSS Feed
